How to Create a Budget-Friendly Bird Feeder Camera Setup
Birds are naturally skittish, making sightings exciting. Watching birds on a feeder or table is rewarding, and I’ve spent many mornings capturing them with a telephoto lens. However, professional photography gear isn’t necessary for everyday birdwatching. The market now offers many bird feeder cameras that provide a close-up view of birds via your phone, making birdwatching more accessible. These cameras are also great for teaching kids about different species or for those with limited mobility.
As a bird enthusiast, I’ve tested several high-tech feeders, including the Netvue Birdfy Feeder AI, which recognizes birds and alerts you when they land. However, it’s large, bulky, and expensive. After gifting it to my bird-loving parents, I decided to make my own feeder cam. Surprisingly, it’s not difficult.
Here’s how to set up a budget-friendly bird feeder camera:
1. Gather Your Gear
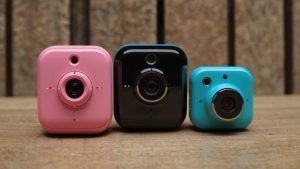
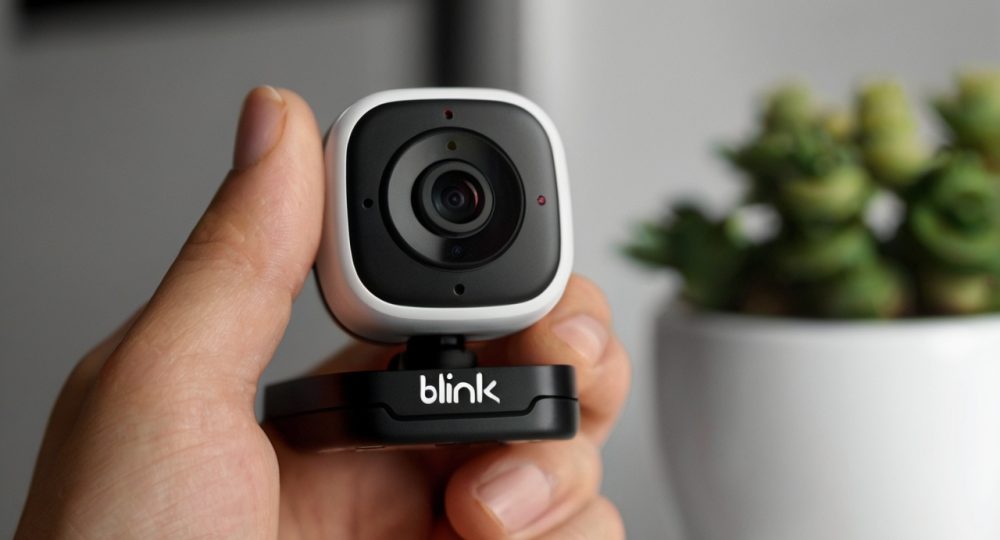
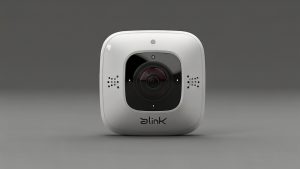
To create a basic bird feeder camera, you’ll need a clear plastic feeder that sticks to a window, a small camera to place on the other side, and bird food. A home security camera or webcam is perfect for this project. I chose the Blink Mini for its small size, price, and motion-detection features. You can link it to Alexa or watch the feed from the Blink app on your smartphone.
Acrylic window bird feeders are inexpensive, easy to clean, and provide a clear view of birds. Choose one with a removable food tray and perch, plus strong suction cups. I found one for £15 on Amazon UK ($20 on Amazon US). The total cost of about $50 / £40 is much less than a dedicated bird feeder camera.
2. Choose the Right Spot
Birds need time to find and get used to a new feeder. Be patient while it establishes itself. Position the feeder near shrubbery and trees, as birds use these natural shelters for protection. Ensure the feeder is high enough to avoid cats and out of strong winds.
Initially, I saw pigeons, magpies, and squirrels but not the songbirds I hoped for. I realized I hadn’t considered what I was feeding them. Different birds like different foods, so tailor your feed to local species. I get many small visitors like Blue Tits, so I chose wild bird food designed for smaller beaks. Homemade coconut feeders with suet, peanut butter, and a seed mix also attract birds.
3. Set Up the Camera
After placing the food, set up the camera. Using a home security camera means you won’t need advanced skills. Plug it in, download the app, and place it on a windowsill behind the feeder. Position the camera close to the window to reduce reflection but not so close that the birds are blurry. Cover the camera’s light with black tape to avoid distractions in the footage.
Raise the camera on books to align it with the feeder’s perch. Adjust the camera until you’re happy with the view. The Blink Mini has a 110-degree field of view, so position it to avoid too much of the feeder in the frame.
4. Monitor and Enjoy
Once the Blink Mini is set up and connected to your phone via Wi-Fi, set it to notify you when it records a clip. With a free trial, you can play back all movements detected by the camera during the day. The downside of using a subscription-based camera is the cost of recording and storing clips. However, if you’re happy watching a live feed or already have a subscription, this won’t be an issue.
Setting up my bird feeder camera wasn’t instantly successful. Nature takes time, and I needed months of patience, several spots, and high-quality bird seed before receiving notifications of bird visits. Despite being a low-budget security camera, the Blink Mini provided clear video recordings and good audio quality for birdsong, even through the glass. While not as crisp as the Netvue Birdfy feeder and without bird identification features, the Blink Mini is a great budget option.
Whether in a hide or at home, birdwatching is always rewarding. Getting to know my garden visitors has been delightful, and I’m now so enthusiastic about nature sightings that I’ve ordered a Blink Outdoor camera. Watch out, hedgehogs!

